#
User Groups
User Groups are created at the project level and define permissions for their members. Before users can be added to a User Group, they must first be members of the organisation.
#
Create User Group
- Open your project's dashboard.
- Click on Settings in the main navigation.
- Click on Access in the side navigation.
- Click on Create User Group.
- Provide a name and click Create, you will be brought to the new User Group.
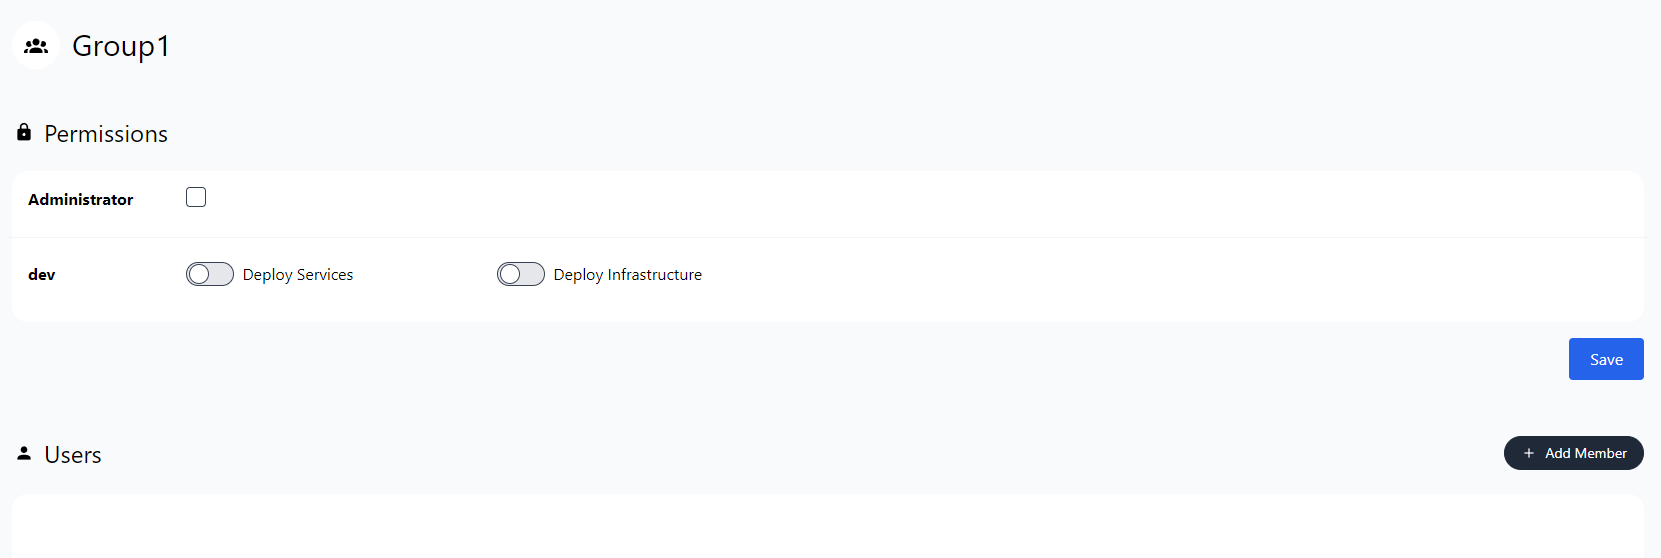
- You can then configure group permissions such as admin and dev privileges.
#
Add members to the User Group.
Click Add Member from the User Group page.
Select a member from the organisation from the dropdown.
Click Add.